Real-time server & service monitoring - The ultimate heartbeat monitor for your infrastructure.
Keep track of servers, web endpoints, and databases in real-time, built elegantly on top of Laravel.
Statify is a self-hosted, powerful, and beautifully designed monitoring dashboard. Say goodbye to expensive SaaS monitoring tools. Statify pings your services, checks your SSL certificates, monitors server health (CPU, RAM, Disks), and immediately notifies your team via Telegram or Email the second something goes wrong.
Whether you are managing a single web app, a cluster of databases, or physical NAS arrays, Statify keeps you in control.
- 🟢 Uptime & Endpoint Monitoring: HTTP/HTTPS checks to ensure your websites and APIs are returning
200 OK. - 🔒 SSL Certificate Tracking: Get warned days before your SSL certificates expire.
- 🖥️ Hardware & Server Health: Monitor Disk Usage, CPU load, and RAM via SSH connections. Perfect for Linux servers, Synology, or QNAP NAS.
- 📡 Ping & Port Checks: Raw ICMP pings and TCP port checks for databases (MySQL, PostgreSQL, Redis).
- 🚨 Multi-Channel Alerts: Native integrations for instant push notifications via Telegram Bots and Email.
- ⚡ Real-Time Dashboard: Built with Livewire & Alpine.js for a reactive, modern UI (Dark Mode included!).
- صف Queue Powered: Relies on Laravel Horizon/Redis to handle thousands of concurrent checks without sweating.
| Welcome Screen | Dashboard Overview |
|---|---|
 |
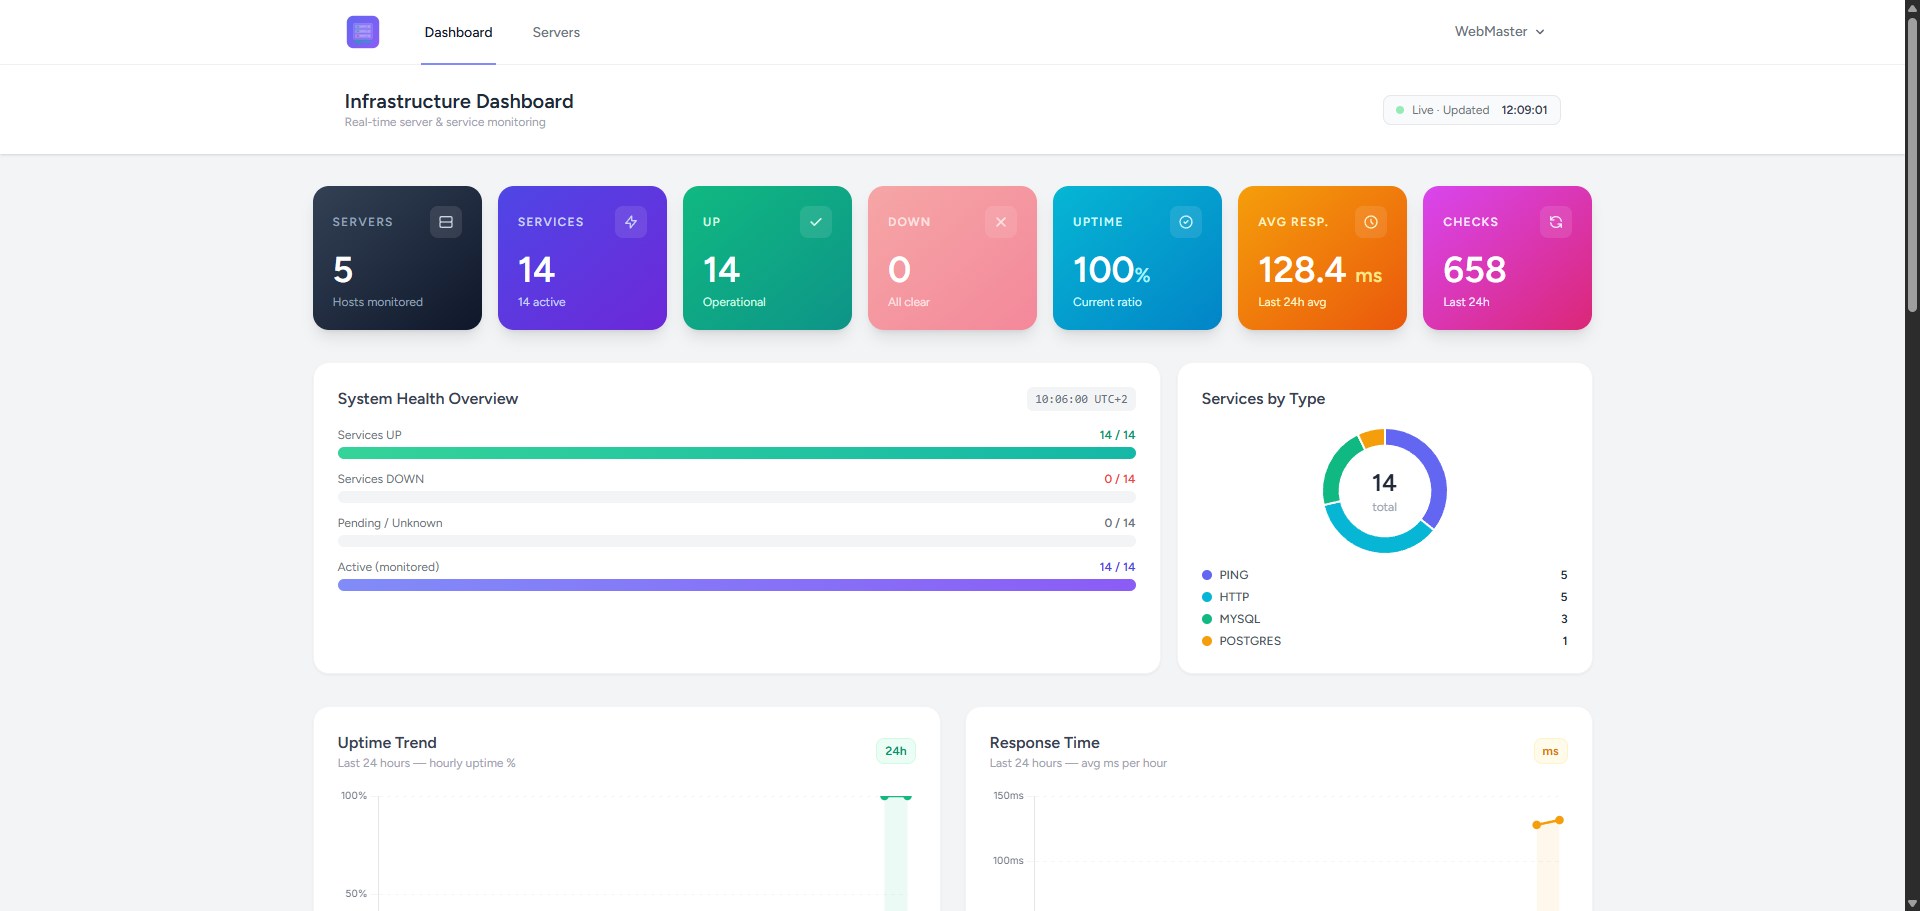 |
- Backend: Laravel 11, PHP 8.2+
- Frontend: Tailwind CSS, Flowbite, Alpine.js, Livewire
- Monitoring Engines: Spatie Uptime Monitor & Server Monitor
- Queues: Redis & Laravel Horizon
To get Statify up and running on your server, follow these simple steps:
git clone https://github.com/cranties/Statify.git
cd statifycomposer install
npm install && npm run buildcp .env.example .env
php artisan key:generateStaify has a custom installer to auto-configure the .env file without having to edit it manually.
Use the command below and follow the on-screen instructions to quickly and easily configure Statify!
php artisan statify:install
Edit the cron file (sudo crontab -e) and add the command below:
* * * * * cd /path/to/your/project && php artisan schedule:run >> /dev/null 2>&1Statify relies on Laravel Queues to perform monitoring checks and send alerts without slowing down the web interface.
Depending on the size of your infrastructure, you can run the queue worker in two ways:
- Small Infrastructure (Cronjob) If you are monitoring a few servers or endpoints, the simplest approach is to use a scheduled task. Add this to your server's crontab (crontab -e) to process pending jobs every minute and then gracefully stop:
* * * * * cd /path/to/your/project && php artisan queue:work --stop-when-empty --tries=3 --timeout=60 >> /dev/null 2>&1- Large Infrastructure (Dedicated Workers) If you are monitoring dozens of servers and require immediate, heavy-lifting background processing, running a cron is not enough. You should configure one or more persistent queue workers using Supervisor to run continuous, parallel workers.
Statify is designed to be installed as a subfolder of your Apache/NGinx; you can then access your Statify server at https://www.yourdomain.com/statify. If you prefer to change the destination folder or path, remember to edit the .htaccess file in the puclic folder, specifically the "RewriteBase" directive.
Configure your Apache/NGinx server to use the alias for Statify.
Example for Apache:
	Alias /statify /var/www/html/statify/public
	<Directory /var/www/html/statify/public>
		AllowOverride All
		Require all granted
		Options Indexes FollowSymLinks
</Directory>Connect with a browser to https://www.yourdomain.com/statify and use the credentials created during installation to start configuring Statify!
Contributions make the open-source community such an amazing place to learn, inspire, and create. Any contributions you make are greatly appreciated.
Fork the Project
Create your Feature Branch (git checkout -b feature/AmazingFeature)
Commit your Changes (git commit -m 'Add some AmazingFeature')
Push to the Branch (git push origin feature/AmazingFeature)
Open a Pull Request
Distributed under the MIT License. See LICENSE for more information.
Built with ❤️ for SysAdmins and Developers.